

Integrating Coletum with Power BI allows you to make the most of the data collected by our platform. With the integration, you can create sophisticated dashboards and perform deeper analyses of your data.
Read the full article here.
Integrating the data
Part I - Configuration in Coletum Web
Access the Coletum web with your administrator user.
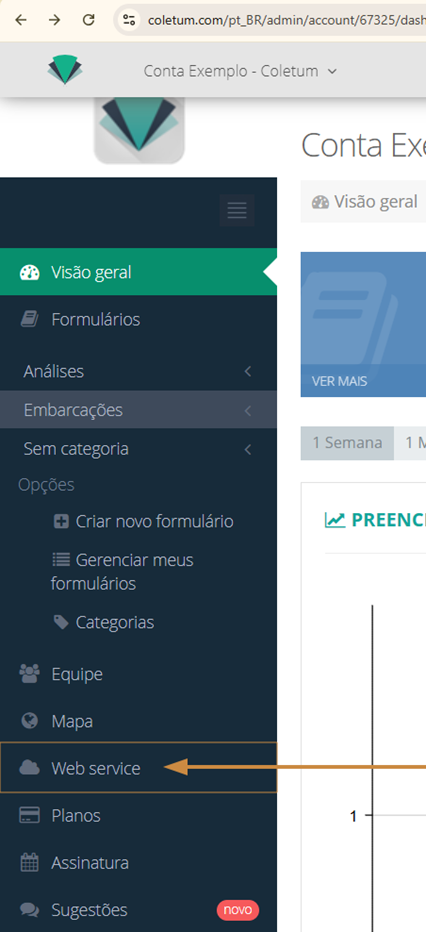
Open the main menu and then Web service.
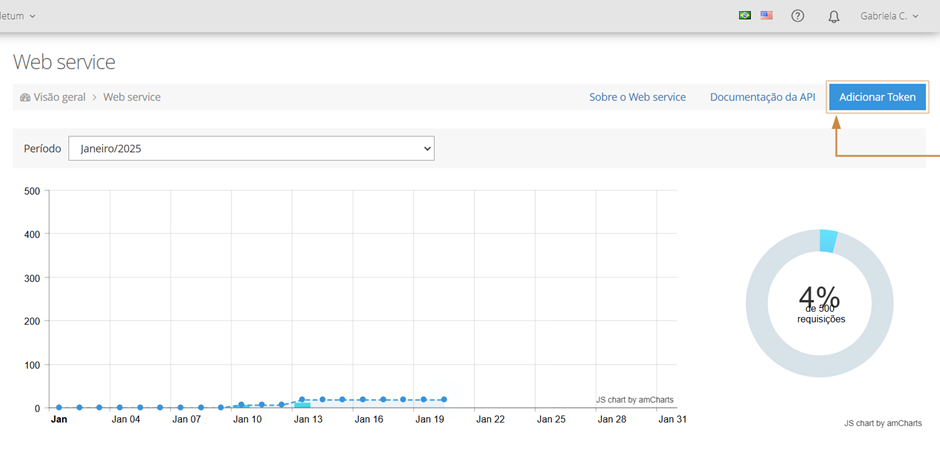
Select Add token.
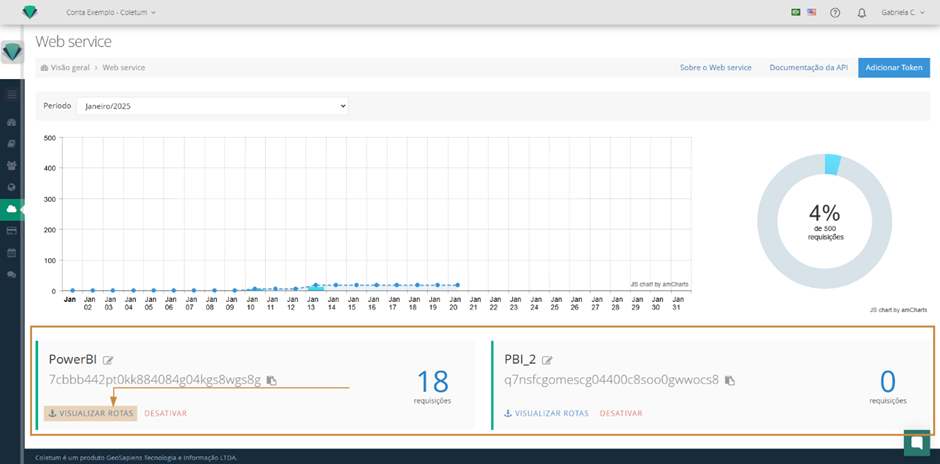
Write the name to identify the integration and click Save.
The new token will appear available just below. Click View Routes to copy the integration link.
Identify the desired form in the list. Expand it to view its link options. Each option has a specific purpose:
Link Form: Displays the structure of the form. It is useful for viewing the existing fields and how they are organized in its structure.
Link Form Configuration: Displays the configuration, rules, and parameters defined in the form structure.
Link Submissions: Displays all fields and the responses received in the form submissions. We will use this link, essential for data analysis, as it compiles all entries made by users when responding to the form.
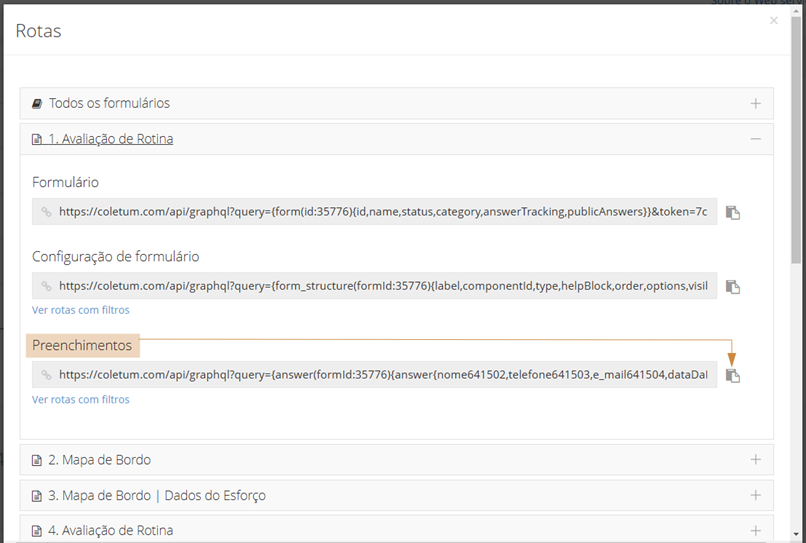
 If there are filters applied, make sure to copy the link with filters by clicking View routes with filters (just below the link). Otherwise, copy the default link without filters.
Part II - Configuration in Power BI Desktop
Open Power BI Desktop. In the Home menu, select Get Data and then the Web option.
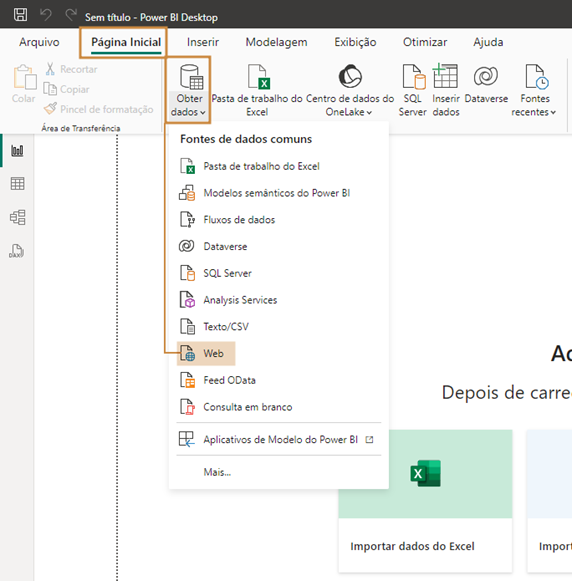
The Web window will open. In the Basic option, paste the link copied from Coletum (Part I - step 6), and click OK.
The Power Query editor screen will open so you can select and confirm the desired data for import.

In the following Part III, we will see how to select only the relevant data for your analysis, removing unnecessary data from the import.
Common error when obtaining data
Problem: URL too long
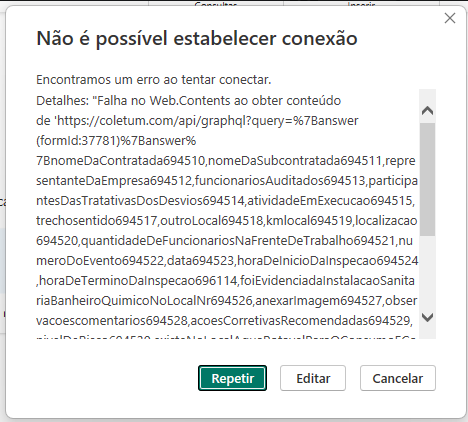
Especially in extensive forms that contain a large number of fields, you may encounter this error when inserting the integration URL into Power BI (step 2). This happens because the generated URL includes all the fields present in the form structure, which can make it too long to be processed at once by the server. As a result, you receive the error “Web.Contents failed to get content.”.
Trying to access the same URL in the browser, we see the error “Request-URI Too Long: The requested URL’s length exceeds the capacity limit for this server.”

Solutions!
Remove unnecessary fields
Analysis: Review the fields in the URL and identify which ones are unnecessary for your analysis.
Reduction: Remove these unnecessary fields from the URL, thereby reducing the link size and importing only relevant data.
Split the URL into two imports
Division: Split the URL into two logical parts for your analysis.
Perform separate imports, one URL at a time (step-by-step from Part II).
After importing both, merge the tables using a common field, such as an ID, to combine the data.
Part III - Transforming data in Power BI
If you have imported the full URL, when loading data from Coletum into Power BI, you can select only the relevant fields, optimizing your work and ensuring that only the necessary data is actually imported. To do this, follow these steps:
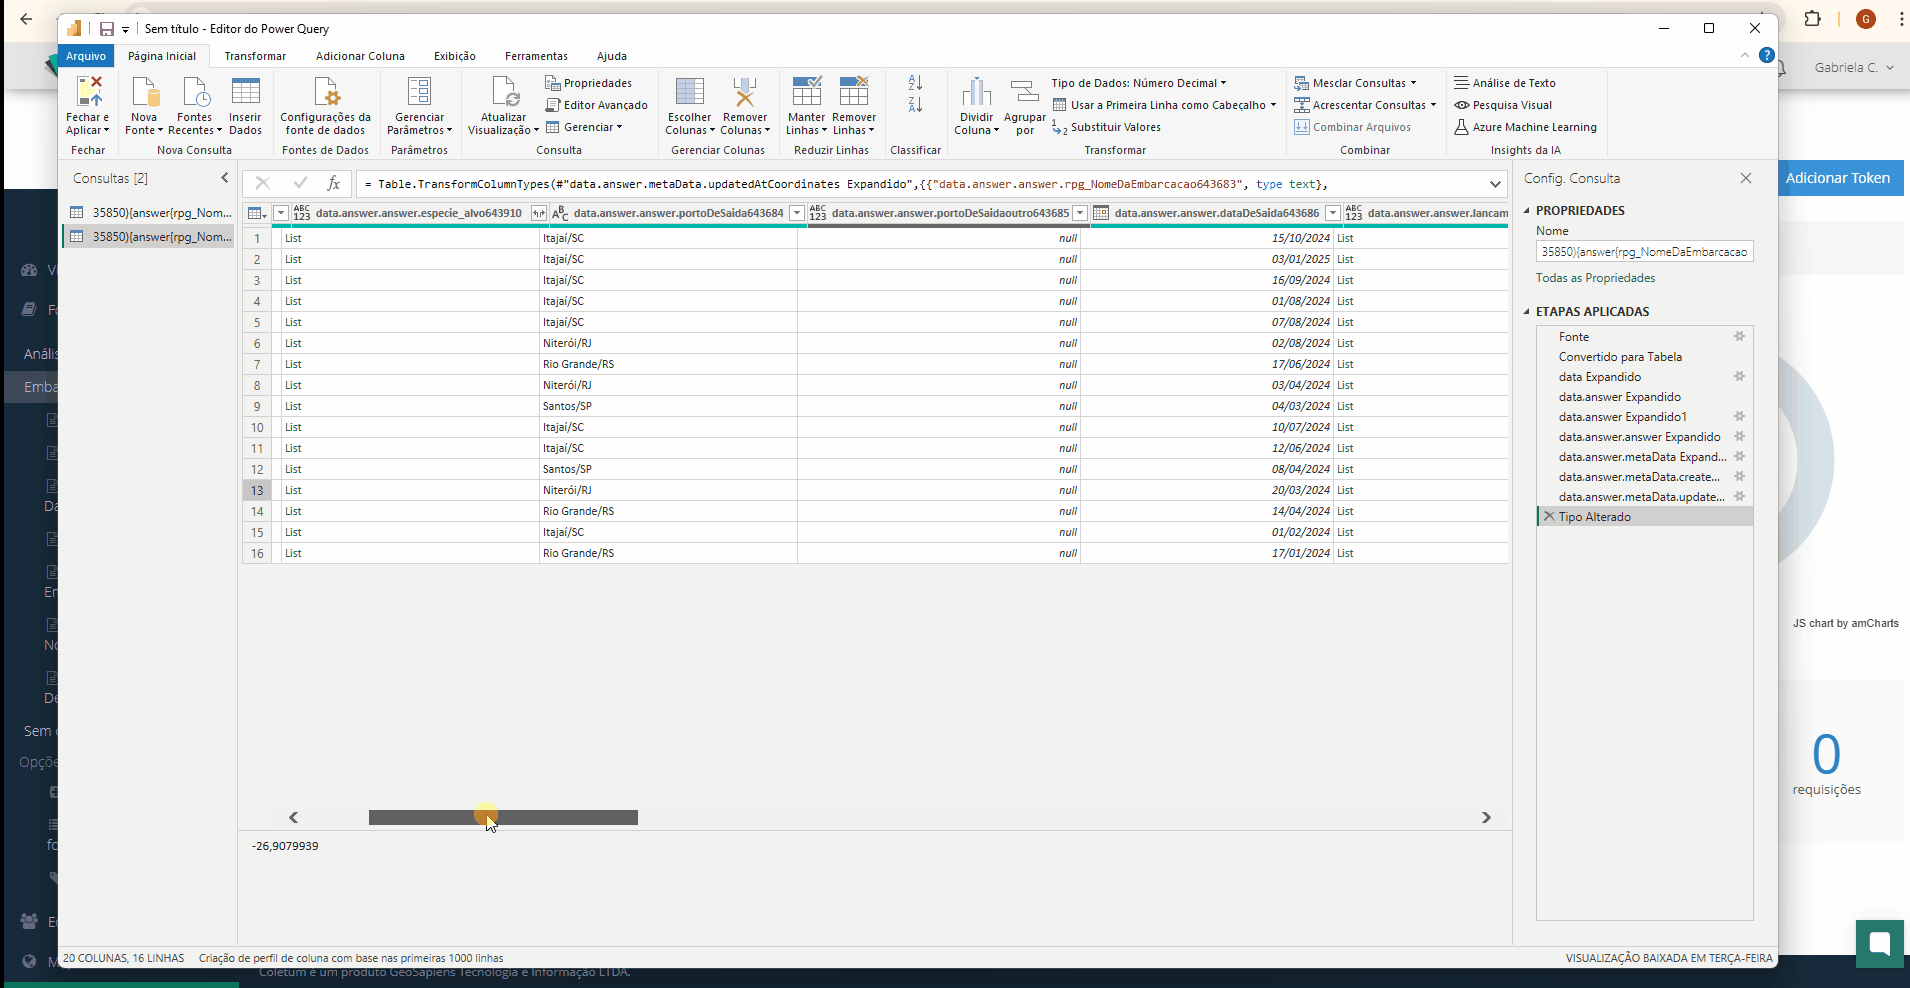
Still in the Query editor, preview the data and identify the columns that are relevant and those that can be removed.
For the columns you do not want to import, right-click on the header and select Remove to exclude this data. You can also select multiple columns to remove at once; simply select the header of the first column, hold the CTRL key, and select the other columns. Finish by right-clicking and choosing the Remove option.
Part IV - Completing the integration
After completing the selection of the necessary data, proceed with other required actions for data processing, such as correcting the format of each column, splitting columns and data, etc.
Select the option Close and Apply in Power Query to confirm and officially import the data.
Done! With this, you will be ready to proceed with the analysis steps and dashboard creation.
Part V - Data Update
Updates in Power BI Desktop
Whenever you need to update the data, click on the option Refresh in the Home tab of Power BI Desktop. This will manually refresh the data, ensuring you are working with the most up-to-date information.
Automatic updates for online Dashboards
Unlike the Desktop version, for dashboards posted online in the Power BI Service, it is possible to configure automatic updates. To do this:
Access the Power BI Service with your credentials.
On the left panel, select the workspace where the report is published.
Click on the Datasets tab.
Locate the dataset associated with your report. Click on the menu next to the name (three dots) and select Settings.
In the Scheduled Refresh section, enable the Keep data updated option.
Set the desired frequency and time for the updates.
Click Apply to save the automatic update settings.
If possible, run tests or monitor the next updates to ensure the data is being updated as configured.
Conclusion
The integration of Coletum with Power BI can transform the way you analyze and use the collected data. By following these steps, you ensure that only relevant data is loaded and used in Power BI, making it easier to analyze and create accurate reports and valuable insights. Additionally, setting up automatic updates ensures that your dashboards are always up-to-date with real-time data.
Do you have any other questions?
Check out our other articles in the Help Center.
Contact our support team through the Support Channels.
We are here to help you make the most of Coletum!